New Rifle Barrel Break In For Beginners
You don’t want to break a new rifle barrel, but you might want to break it in.
“Breaking in” a barrel simply means cleaning and shooting it so as to minimize fouling, maximize accuracy potential, and reduce cleaning frequency throughout its life.
Many modern rifles with synthetic stocks and special metal coatings like CeraKote, Marine Coat, and nitride coatings resist rust beautifully and needn't be oiled or waxed externally, but bores still need to be cleaned.
I suspect it’s rather obvious to everyone that a new rifle/barrel should be cleaned before initial firing. Some rifles still come with significant quantities of grease or oil on them. But even if they don’t, you are wise to clean. But how?
First, wipe off all exterior parts. If you notice dark staining on your cloth, you’re picking up oils or grease. You can more easily remove these with a bit of gun oil. Just don’t leave a heavy layer of this oil on. Use a dry cloth to polish it off.
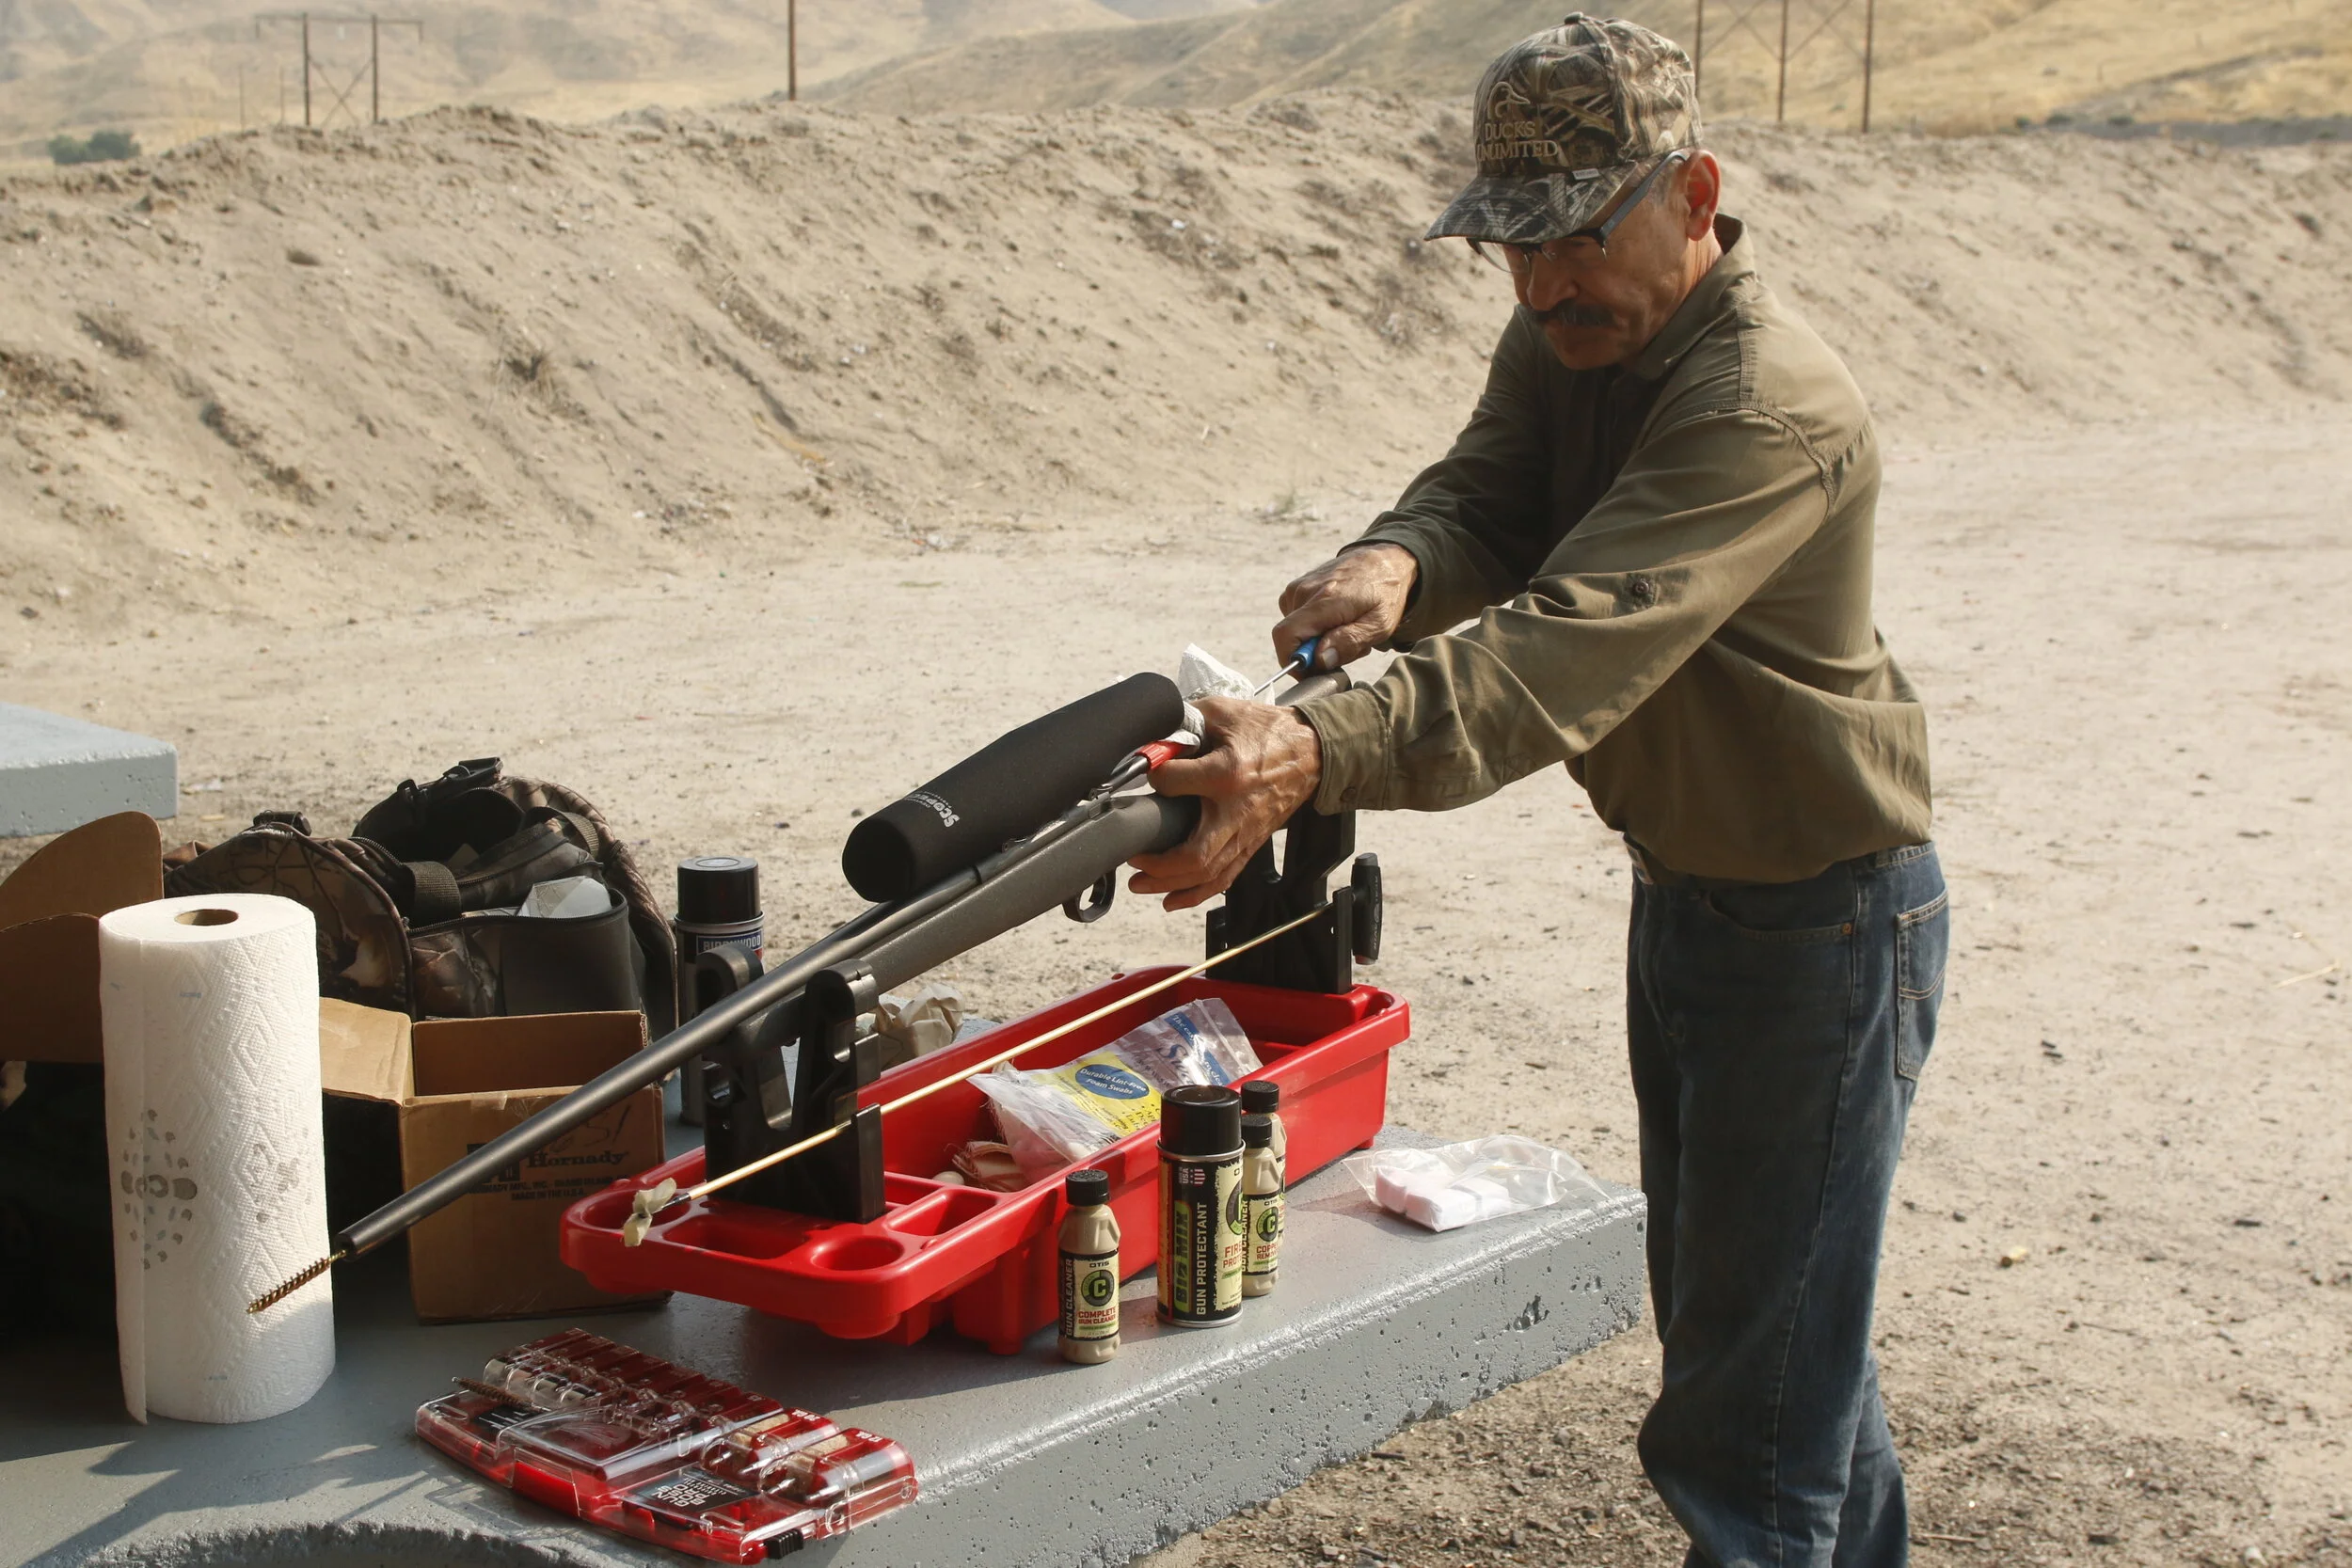
Solvents, patches brushes, bore guide and cleaning rod are about all you'll need.
BUY NOW
By the way, an option for a surface layer to prevent rust is wax instead of oil. Car waxes applied atop metal and wood surfaces do the trick. You’ll first have to strip off all oils with common household rubbing alcohol. Then apply the wax and polish.
Clean inside the action by removing the bolt (consult your owner’s manual.) There’s usually a button or lever to activate on one side of the rear action ring. On Remington M700s the button is in front of the trigger shoe. On Savage bolt actions you must pull the trigger and then depress the bolt release plunger alongside the action.
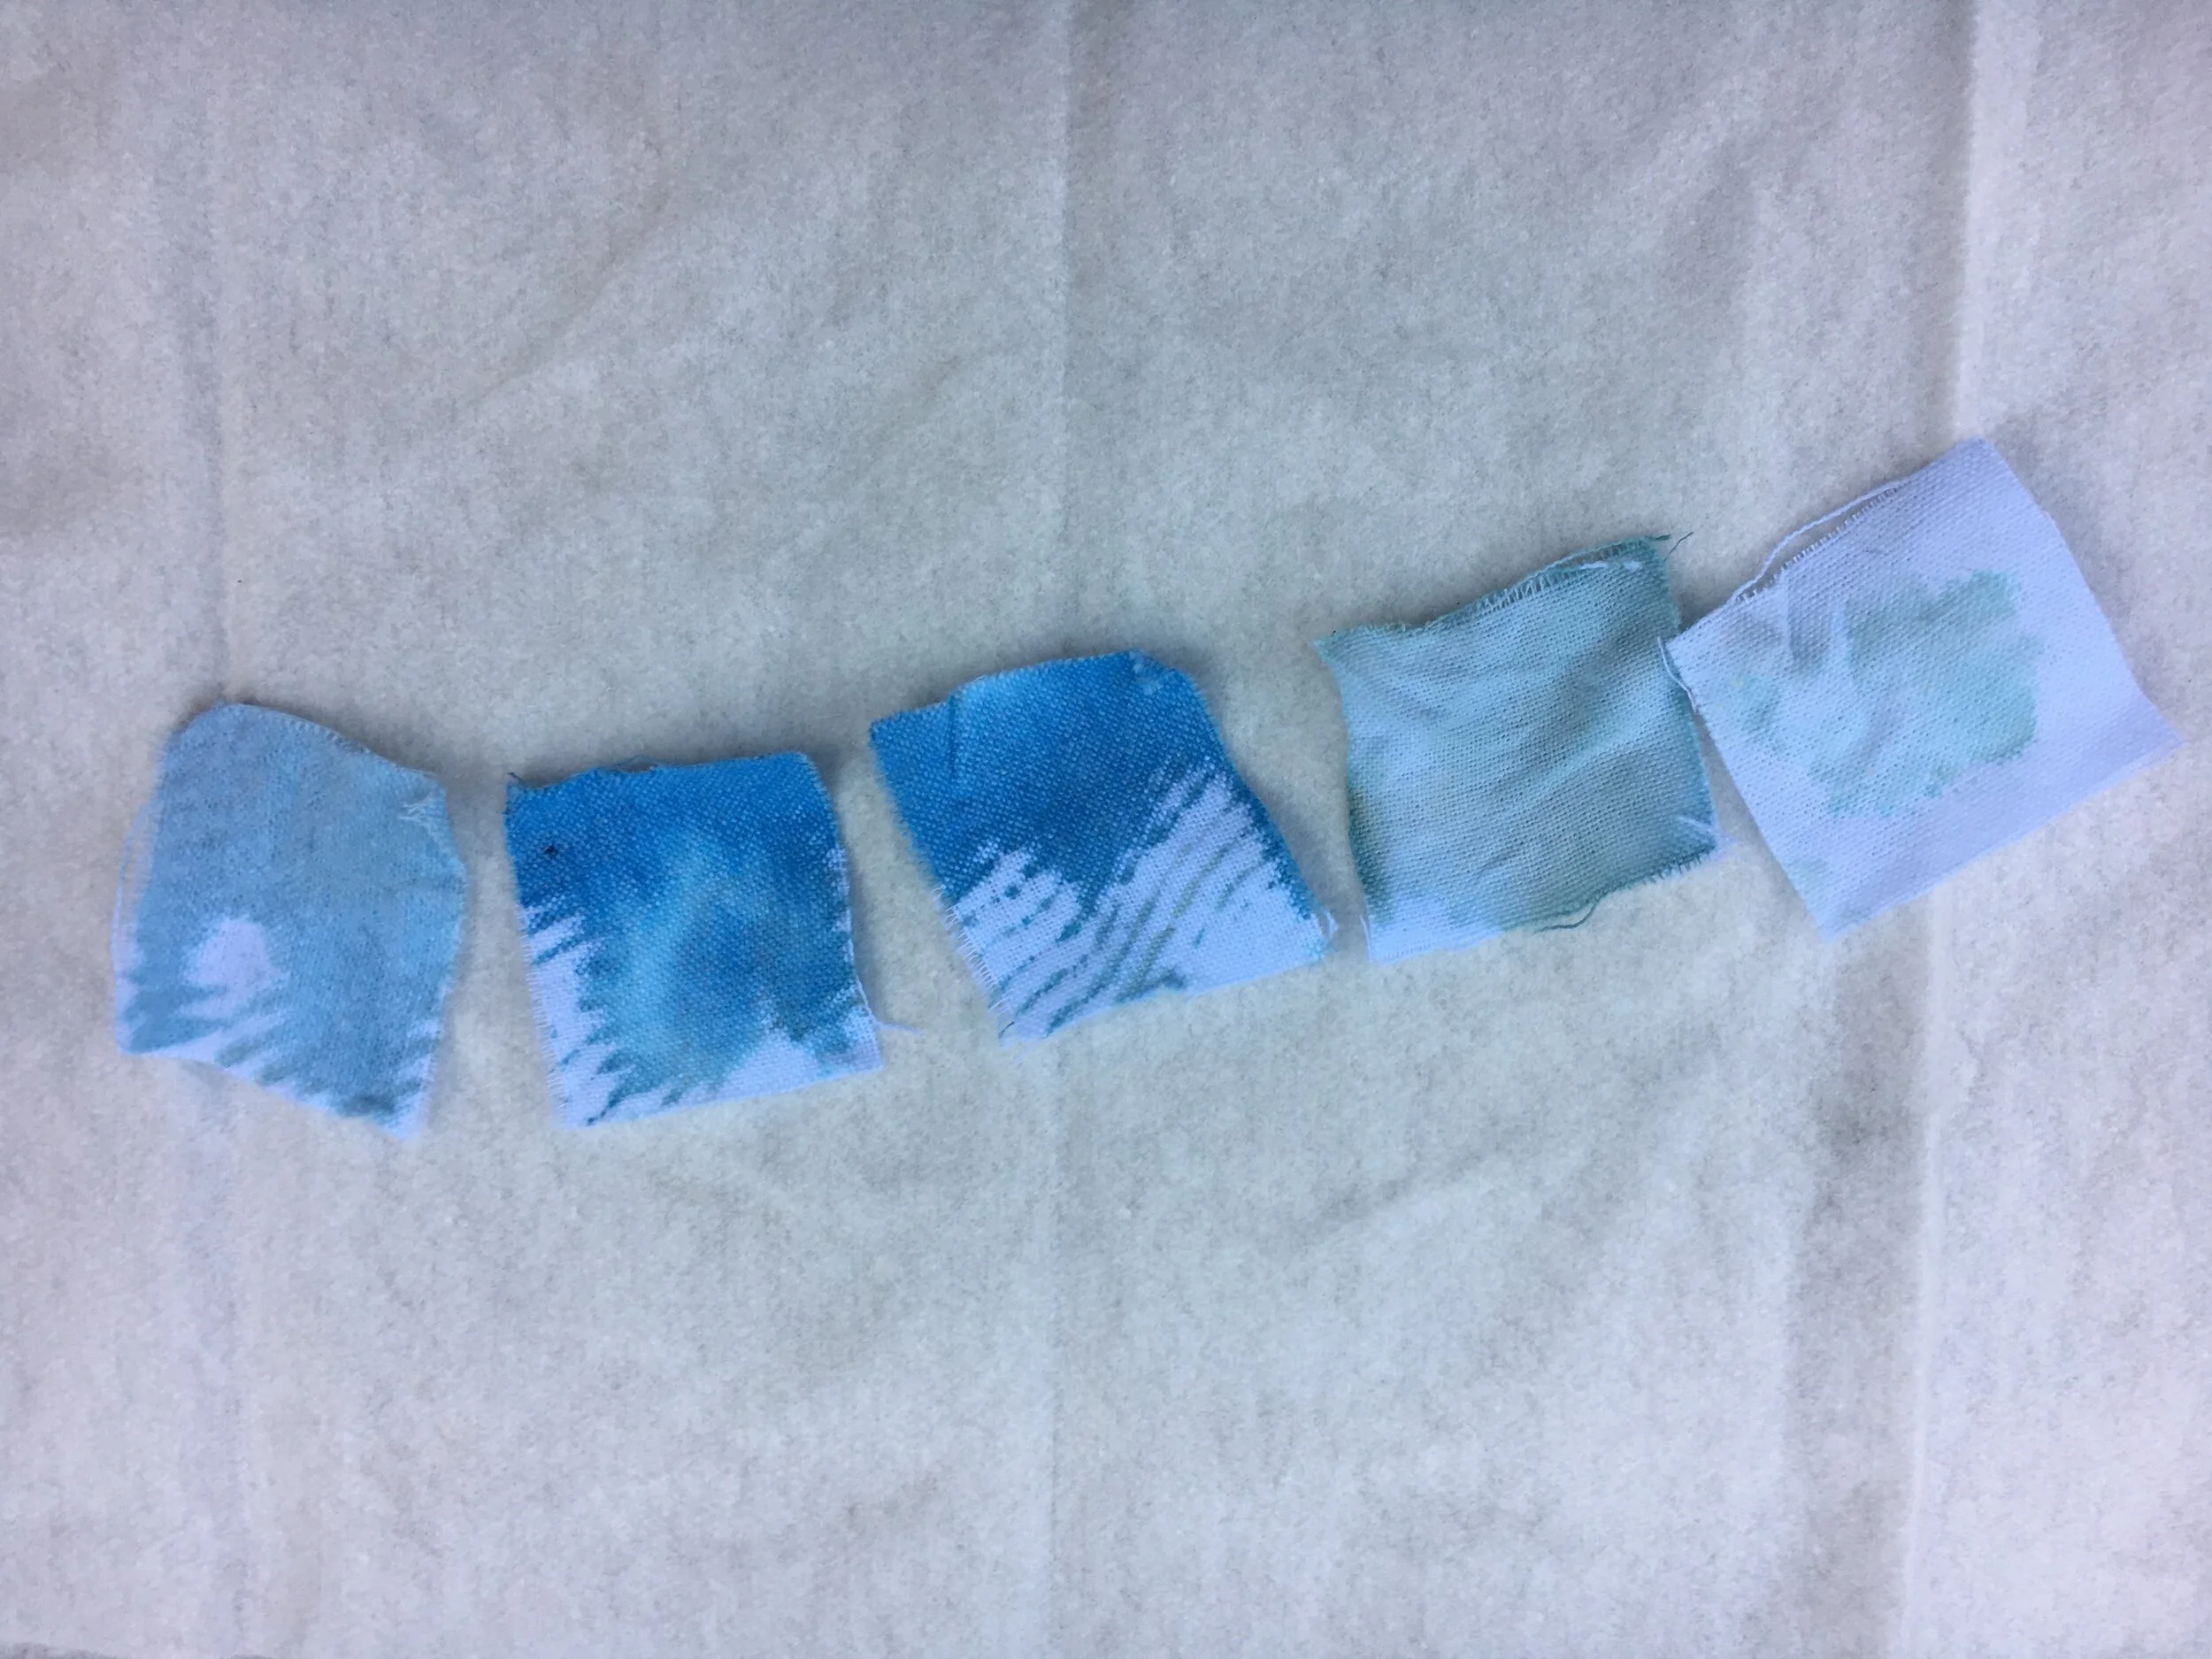
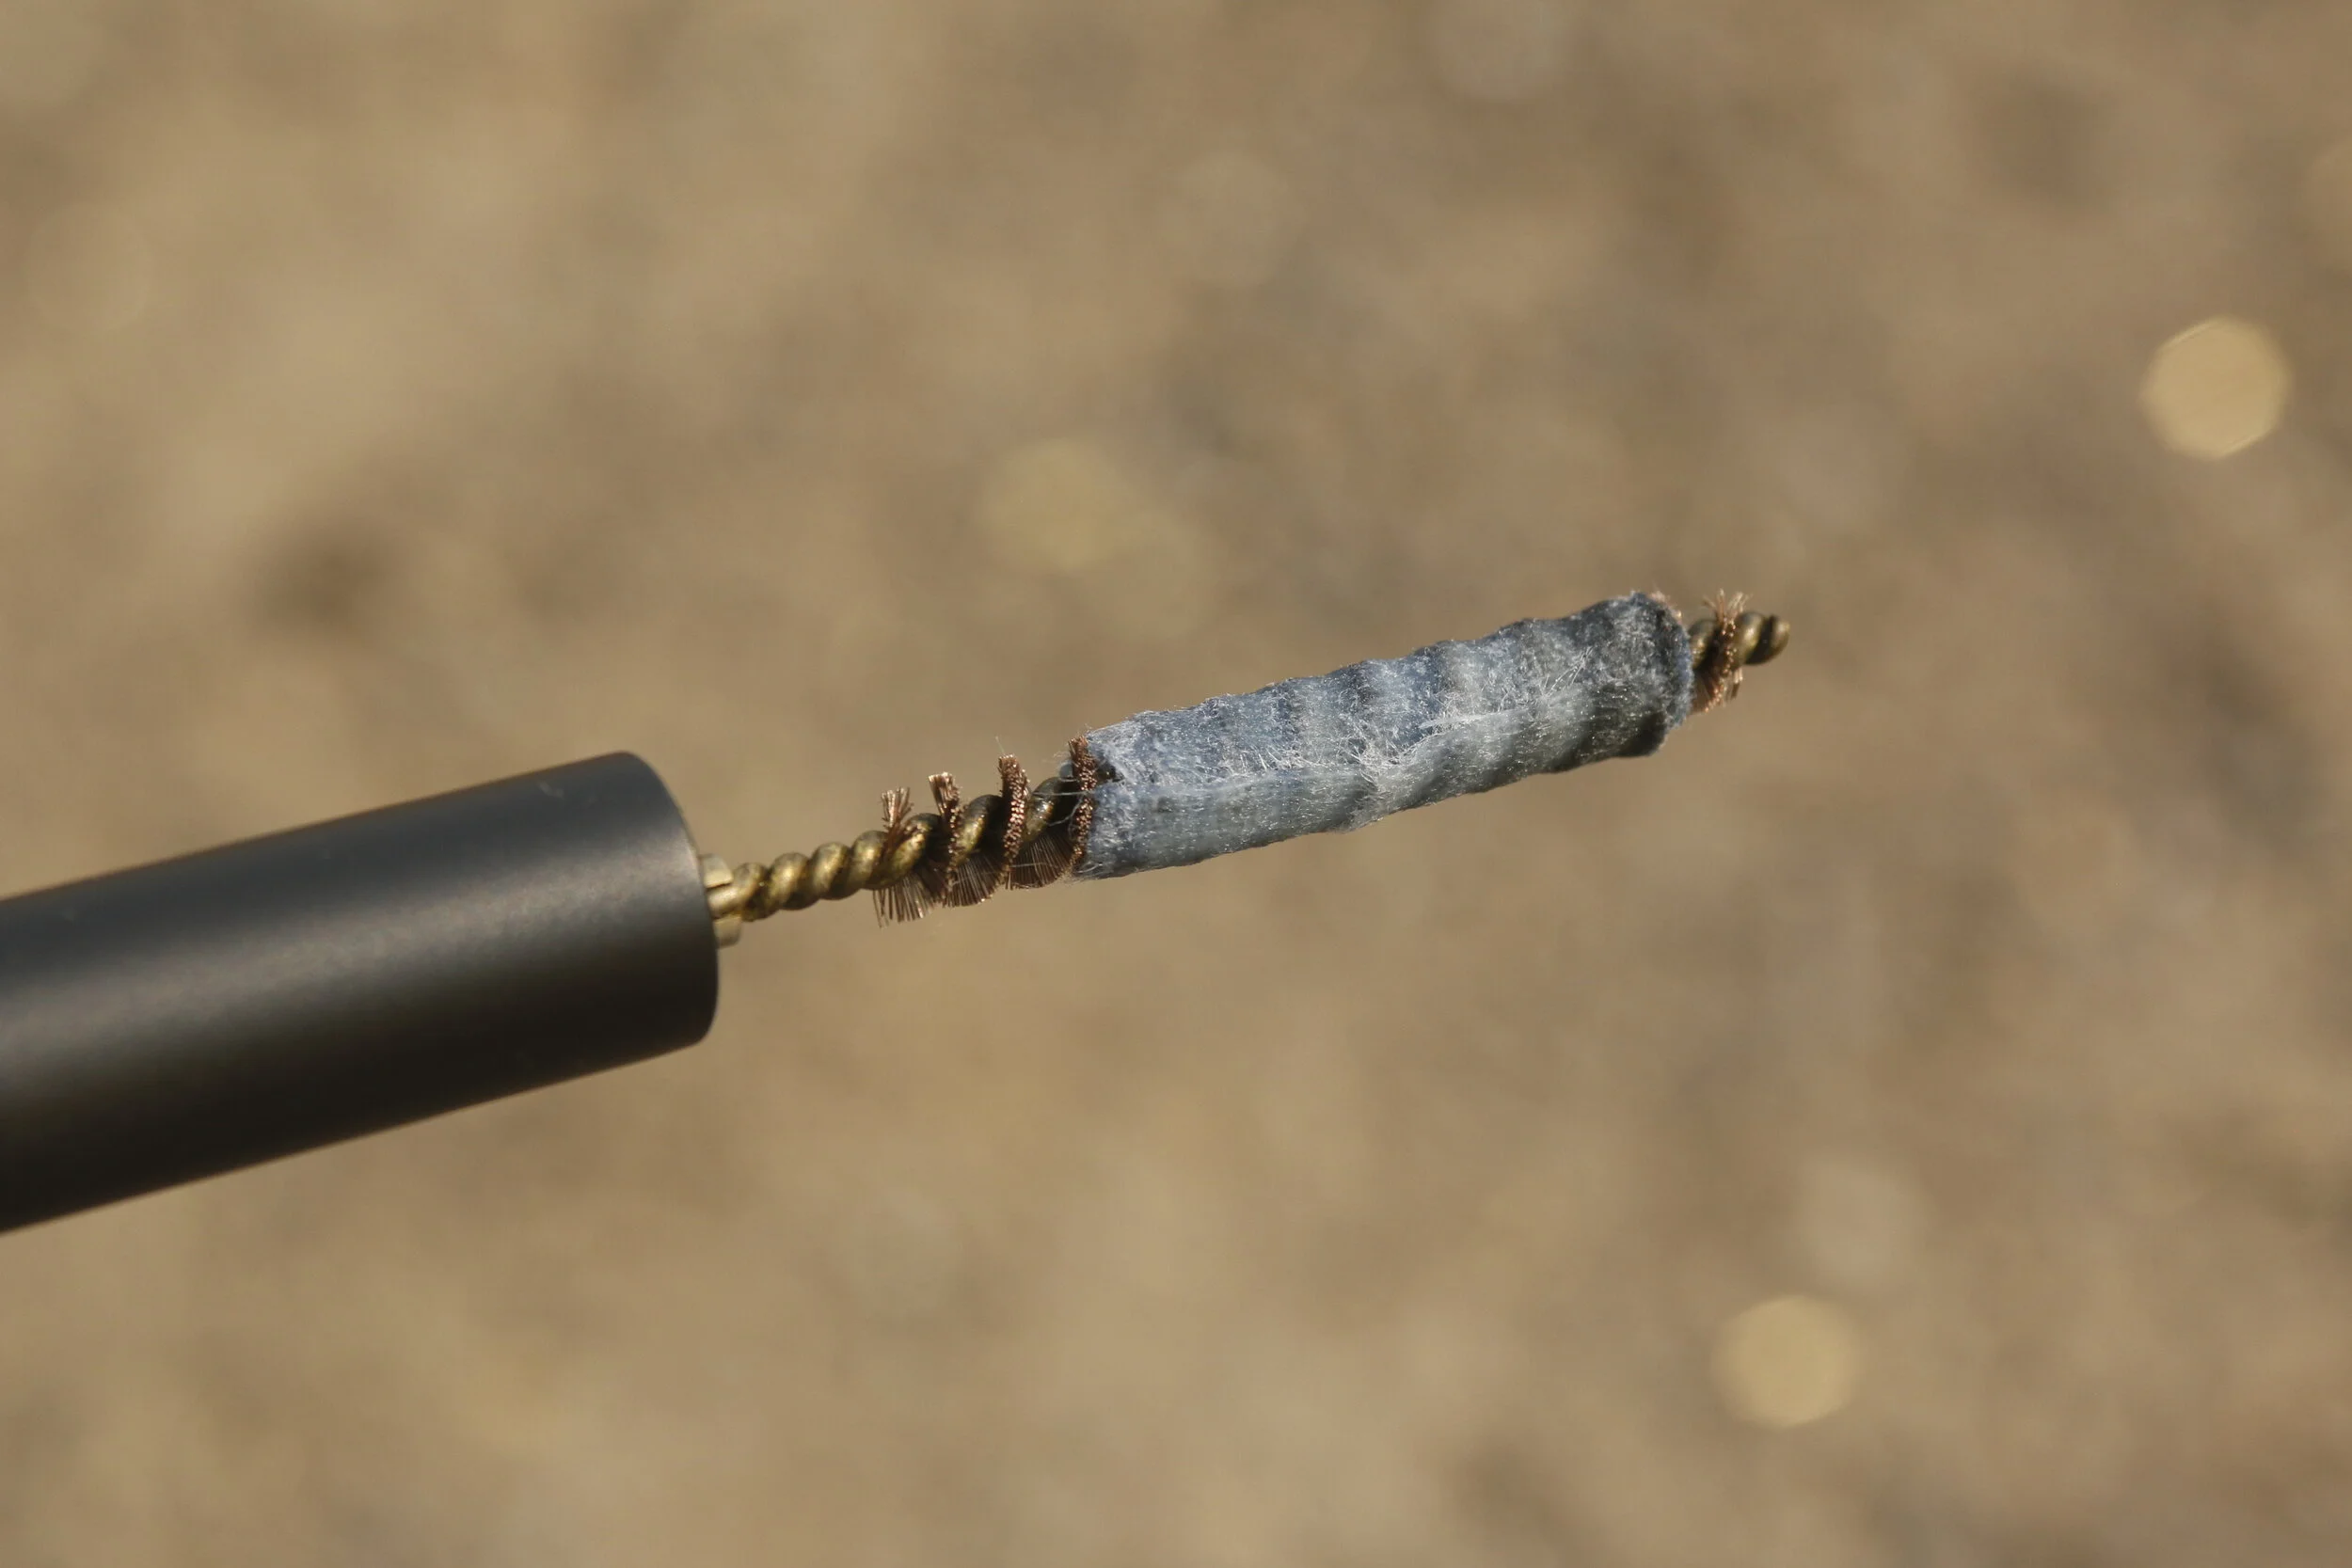
Patches turn blue when they push out copper fouling that has been softened with Copper Solvent.
With the bolt out, remove excess oil from within the receiver body, along the rails on which the bolt travels. Next wrap a small cloth around a bore brush affixed to the end of a short cleaning rod. Your long rod will suffice. It’s just not as handy. Poke and swirl to remove grease and any metal filing from the chamber and throat (the short area ahed of the cartridge mouth.) Common bore solvent, vinegar, or Windex helps with this.
Now you’re ready to swab out the bore itself. (Virtually every new rifle has been fired from 1 to 5 times by the factory to make sure everything is working properly.) Best is a one-piece rod fitted with a nylon brush of bore size or a jag into which you insert enough cotton patch material for a snug fit. Soak the brush or patch with Windex or any gun (powder) solvent and push it through. Two schools of thought here: Push through but don’t drag back. Or don’t push all the way through and do drag back. Theory on the first version is you don’t want to bring the gunk you just pushed out back in. Theory on the second is you don’t want the brush or swab to exit or the hard rod will fall on the crown (last edge of the barrel) and potentially damage it. Both systems have adherents, so I wouldn’t fret either.. I can’t imagine a few cleanings now and then are going to ding a hard steel rifle muzzle, but if they do, fear not; crowns can be touched up easily and inexpensively.
One useful tool is a bore guide. This is a tube that fits inside the action. It holds the rod off the rifling to prevent it rubbing. Some guides, like a nylon one with an o-ring seal from hollandguns.com, seal out returning solvents, too.
Bring your cleaning gear to the range so you can clean between break-in shots.
Don’t run the rod fast. Smooth and steady wins this race and reduces chances you’ll rub rifling with the rod. But you probably will need to make many passes until your patches come out clean. When they do, it’s time to switch to a copper remover solvent. Follow directions on the bottle. Most have you leave the solvent in the bore for 5 to 10 minutes so it has time to dissolve the copper. Patches absorb the copper and exit the bore covered in blue. When the blue is gone, the copper should be, too.
The idea behind this initial cleaning is to essentially polish the bore. Manufacturing often leaves behind tiny imperfections, little slivers of steel sticking up here and there, possibly small potholes and nicks, most of them ridiculously small, yet having the potential to scour a bullet and mess up accuracy. How much no one knows, so why not err on the side of caution? But — and this is a significant but — not all barrels exhibit micro flaws.
This is what a heavily powder and copper fouled bore looks like through a borescope.
Cold-hammer-forged barrels are not cut, but hammered around a mandrel to create the rifling. They should be smooth. Ditto broached or button rifled barrels made by squeezing an incredibly hard carbide button through the barrel. Electric Discharge Machined barrels are eroding with electricity and also smooth. However, if any barrel has its chamber reamed via cutters (and most do) there can and probably are small tears and filings at the leade, the junction of the throat and rifling where the rifling ramps up. Cleaning/polishing can help here.
Polishing is really what barrel break-in amounts to. High-end barrel makers generally hand polish their bores by “lapping” them with a lead-tipped broach or button coated with fine grit polish, pass after pass gradually smoothing all interior imperfections. We do the same with cleaning and shooting, which is the next stage of this break-in.
Patches that come out blue indicate copper is still being stripped from the bore. Keep cleaning.
Once you’ve done your initial gun cleaning, it’s time to shoot once and clean the bore again. Best take your cleaning gear to the shooting range to do this. Shoot once, clean the bore until no copper shows. Shoot again. Repeat for 10 shots, some say 20. Others say shoot once and clean, then twice and clean, then three times and clean or some variation of that theme. No one knows which works best or at all, but benchrest accuracy competitors insist barrel break in/lapping/polishing makes a difference. This is probably overkill for a hunting rifle.
One benefit to break in is reduction in future cleaning. A smooth, polished barrel should not foul as readily as a rough one. So there’s that.
To save ammo you can begin zeroing as you shoot/clean. You can also chronograph your shots to get an idea of the speed of various loads you might want to hunt with. After several shots, you can even begin shooting for groups to determine most accurate loads. This might change slightly once barrel break-in is finished, but not much.
Powder fouling turns patches gray or black. Keep cleaning until they come out white.
Another way to save ammo and your arm is to apply a special abrasive to a brush or bore-diameter brass button and run that down the bore. Gunsmithing supply dealers like Midway USA and Brownells sell these. A paste grit called J-B Bore Compound, as mentioned in this video, has worked well for me. I apply it to a tight nylon or bronze brush and polish with that.
By the way, most barrels — whether officially and carefully broken in or not — start shooting to their true accuracy potential after 30 to 50 rounds. This suggests that “bullet polishing” may be doing the work for you. In fact, I think they still sell some special bullets or fine grit materials you can apply to bullets for “fire lapping.” Shooting your way to success!
Not all of these are great or even recommended bore cleaners, but some common household cleaners like Simply Green and Windex doing an effective job of taking out carbon/powder fouling.
My final words of advice are these: Don’t lose any sleep over this! If you’ve already shot your new rifle without cleaning, chances are it won’t matter. If you still want to create an easy cleaning, non-fouling barrel, just follow the above directions anyway. Can’t hurt unless you clean so often with such intense solvents and vigorous, sloppy rod action that you rub the rifling. In fact, many old barrels start shooting much better if thoroughly cleaned and polished this way. Give it a try!
The author rarely indulges elaborate barrel break-in, but if he discovers a barrel that refuses to group well, he’ll do so in an attempt to “fix it.” And he sometimes does.


